EventTools can be used to access either the Checkin Kiosks or Registration Forms you have setup in your RACE RESULT 14 event file, or you can create a results kiosk directly within the app.
Checkin Kiosks and Registration Forms can additionally be accessed without logging in using the quick access menu from the login screen.
Checkin Kiosks
RACE RESULT EventTools brings the Checkin Kiosks directly to your palms.
You can access Checkin kiosks either by logging in as normal to a RACE RESULT account, or via direct access from the main screen.
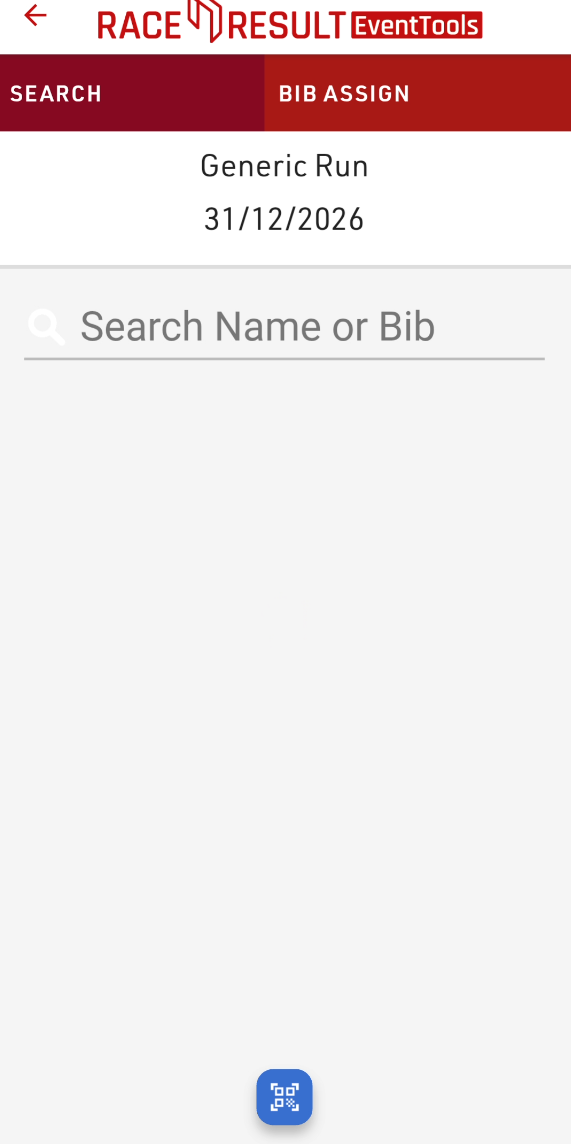
Once you open the kiosk you'll be able to search participants using your device camera by clicking the scan button at the bottom of the screen.
The scanner currently supports the following barcode formats:
- QR
- Code 128
- Code 39
- EAN 13
- EAN8
The value of the barcode should match the value of one of your search fields, it is recommended to ensure to use a unique value here such as a registration code, not simply the bib field.
Checkin Kiosks also support the use of BLE Readers, QR Scanner for data input. To enable this you will need to select the input method for the corresponding field in your edit step.
If using a BLE Reader to input to a field then you will be asked to connect a BLE Reader when opening the kiosk. When you open a step which accepts the input from a BLE Reader then the reader will automatically be started and the data will be entered in to the corresponding field.
If using a QR / Barcode input then a button will be displayed when the step containing that field is opened and the field will be automatically filled with the data of the barcode.
EventTools also supports the After Save Action to print a certificate. If an after-save action to print is enabled then you will be asked to choose the printing method when opening the kiosk.
Registration Forms
Registration Forms can be used for on-site registration at your event.
This can also support file / image upload using your device camera and also After-Save Actions to print certificates through a connected Printer. If an After-Save Action to print is defined then you will be asked to choose the printing method when opening the form.
Whilst payment steps should also be supported, there may be cases where payments are not handled correctly depending on your chosen payment method. If you encounter issues with payment when using Registration Forms in the EventTools app please inform support@raceresult.com
Results Kiosk
Results Kiosks are a great way for participants to view their results on-site or even take home a printed receipt with their times.
The EventTools Results Kiosk can be combined with the RACE RESULT BLE Reader and also has support for direct Printing through various connection methods.
The kiosk can search by bib, name or chip code (when using the RACE RESULT BLE Reader).
Setup

Kiosk Mode
- View Only
- View & Print
- Print Only
Info Text
This text is displayed in the center of the screen when awaiting input
Search Result Fields
Customise the fields which are shown in the search results with a list of comma separated field names.
e.g. FirstName, LastName, ContestName
Note this has no impact on the fields which are searched.
Display Time
Control how long the certificate is displayed on the screen, in seconds. If no value is specified then this defaults to 15 seconds.

Screen Lock Pin
To prevent participants accidentally exiting the kiosk whilst trying to type on the screen you can set a lock pin, this must be entered to go back to the kiosk setup page. If forgotten then the app must be restarted. This setting is not persistent and only stored for the current session.
Certificate Sets
Define which certificate set should be displayed for which contest - allowing you to display different certificates depending on the contest.
BLE Reader
Connect to the RACE RESULT BLE Reader and set the read power. When a chip is scanned then the kiosk will search for a participant with the specified chip code.
If a chip file is used then this will match on Transponder1 / Transponder2 fields, or the Chip File, otherwise it will match the bib.
Bluetooth Printer
Only displayed when mode is set to View & Print, or Print only.
See Bluetooth Print.
Printing
If using printing either from the Results Kiosk or as an after-save action from Checkin Kiosks or Registration Forms then you will be prompted to choose a printing method and connect a printer.
- POS Printer
- POS Printers can be connected either via Bluetooth, Network (Wi-Fi) or USB (Android only).
- Use Device Printing
- When printing the device native print dialog will be opened allowing you to use any printer available to the device
- AirPrint (iOS only)
- Discover available AirPrint devices, and print directly to the chosen printer.
For After Save Actions to print, if the connection dialog is closed then the device printing option will be automatically used.
If using quick access to open a form then if a print instruction is received it will prompt you to select a print method for the first sheet received.
POS Printers
Supported Printers
Currently the following printer(s) are officially supported:
- Epson TM-M30 (Including submodels)
Other Bluetooth POS printers may work if they use the ESC / POS protocols for printing, and connect via classic Bluetooth pairing. If you discover another already working option then please contact support@raceresult.com.
Connecting
To connect to the printer through RACE RESULT EventTools ensure that your device and printer are already paired, you may need to do this using the manufacturers configuration application.
The connect action is slightly different depending on which platform you are using.
Android:
When connecting to a printer in the Results Kiosk all paired bluetooth devices, connected USB devices and devices available on network port 9100 will be listed, ensure to select the correct printer from the list of devices.
iOS Bluetooth:
Connect to the printer through your device bluetooth settings first, connected printers will be listed and you'll need to select the connected printer.
Once connected also ensure to set the corresponding paper width, we recommend using 80mm rolls.
Design Tips
Due to the ESC / POS Protocols it is reccommended to use the maximum width of the certificate in the Designer as a margin will be applied automatically to all content.
If using images then try to use black and white images to ensure they print as expected, print quality may be lower over bluetooth than via USB so use simple, bold images where possible.