In this section of the software, you can define all the content you want to make visible online, to let participants be able to check the event info, register and later on check their results.
Basic Settings
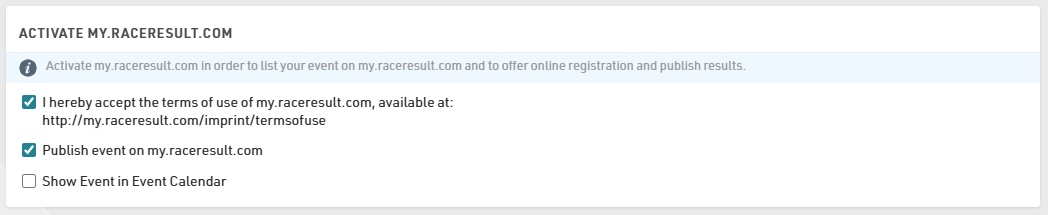
By flagging the first two checkboxes you accept the terms and publish the event online on my.raceresult.com/EVENTID.
Publish the Registration
Under Page "Registration" there are a few things to take care of in order to be able to publish the registration form created in the previous chapter.
Basic Settings

Ticking the checkbox will activate the page, and entering the date-range will make this page available for the selected time period.
The registration page, in this case, is active from the first day of 2024: participants will always be able to see this page and register to the event up till the registration forms won't expire.
Info Text
In this section, it's possible to enter plain text or any HTML code, in order to give additional info to participants regarding the Event. For HTML code, you need to press on the Source icon in the top-left corner of the text-editor: this will facilitate any special formatting you want to apply to the info text.

Publish Registration Forms
To finally publish the registration form created, you can choose it from the dropdown menu. You can also add additional info text for each form, as well as change the Button Text to make it more personalized.

This is the final result on my.raceresult.com

Publish lists
Lists in my.raceresult can be published into different pages like the Participants page, the Live page and the Results page.
In this KB article you can see how to publish lists on my.rr.