Each display can be enabled for a specific time frame and given a title - which is the title of the browser tab.
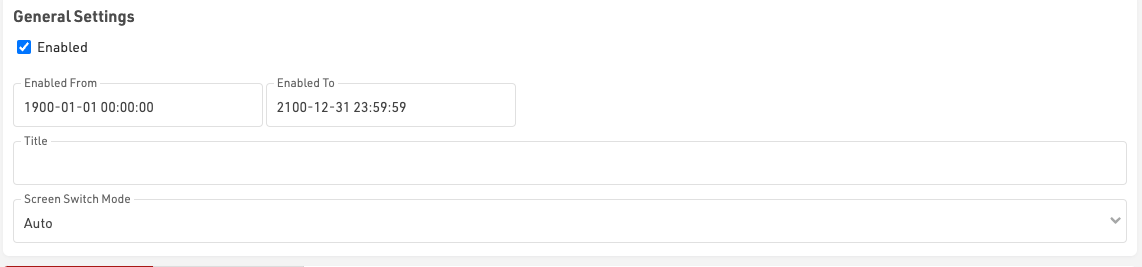
New screens are added / deleted individually. When multiple screens are defined, you can also control how the different screens should be switched in the Screen Switch Mode:
- Auto: With Auto Screen Switching, the presenter will switch through all available screens one after the other. A screen will not switch before all windows have reached the end of their data list (with scrolling enabled) and according to the longest Page Time of a window. The tabs of the different screens are hidden, you can navigate to the first four screens with F1-F4 anyway.
- Auto with Tabs: Similar to Auto, except for the navigation bar that shows the different tabs. With a concise screen title the viewer directly knows what that screen is about.
- Manual: In Manual Screen Switching, a screen will be shown until changed manually, either by clicking the respective tab or hitting F1-F4 for the first four screens.
- Always show "Screen": In this mode you can remotely control a screen you don't even have access to. No matter where the presenter is open, all presenters will update their screen automatically. Please note, they will only update when refreshing, it's not an instant push.
When working with multiple tabs it is also possible to force the Presenter to start in a specific tab by appending &tab=X to the URL, where X is the tab number which should be displayed.
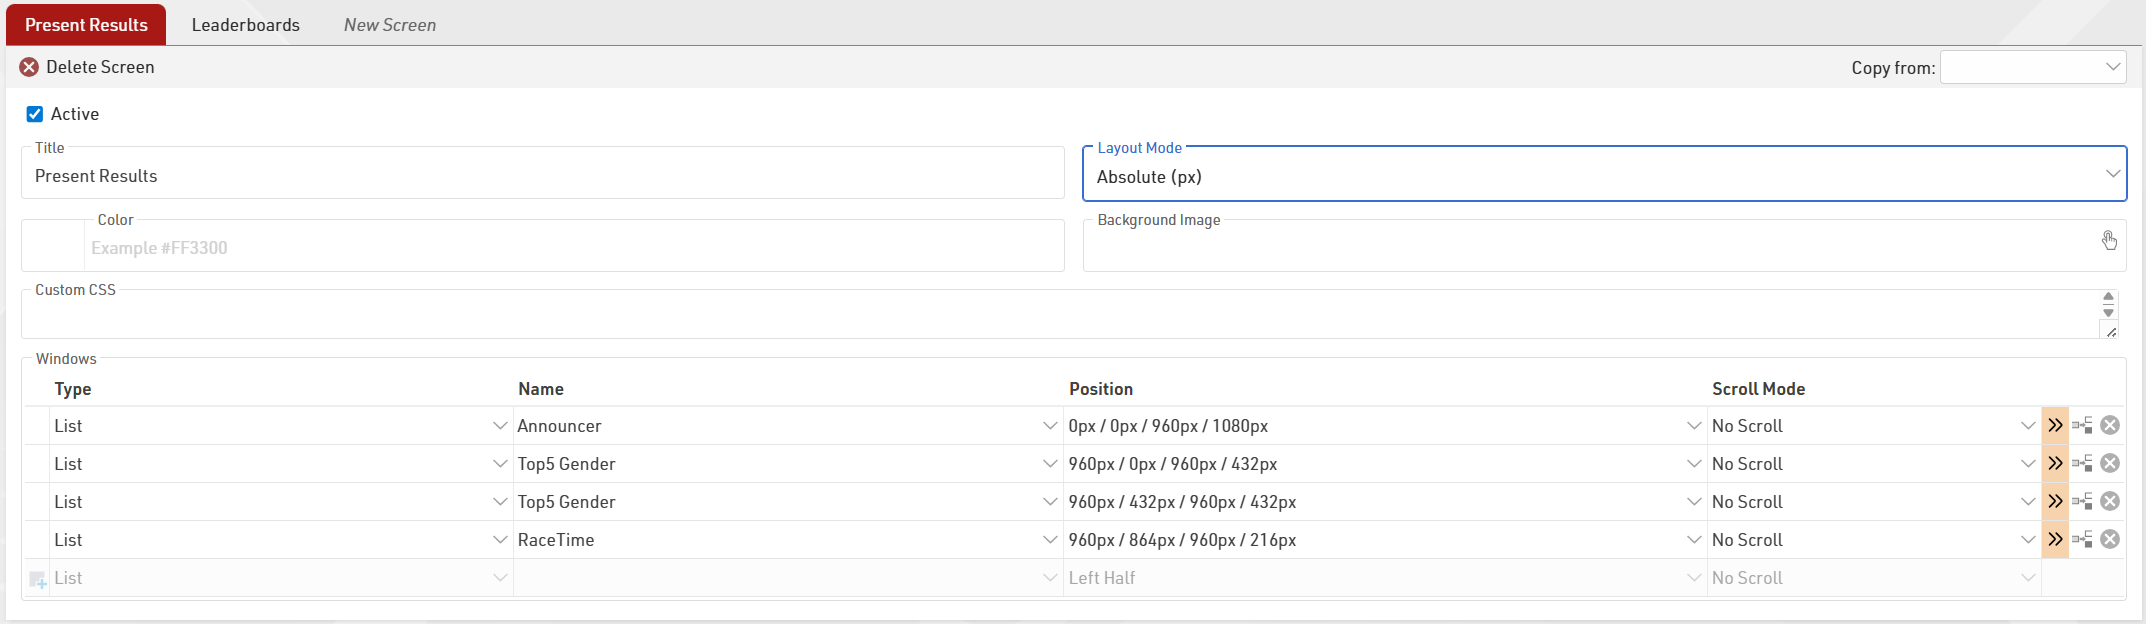
The Screen title is shown in the screen switching tab when more than one screen is set up.
The layout mode defines how positioning will be set. Relative % defines margins (Top/Left) and size (Width/Height) as a percentage of the total display. Absolute (px) defines the same parameters using fixed pixel values. If the global Display Dimensions are changed, the window positions will automatically recalculate to maintain their relative scale.
Each screen may have its own background color or image (from the images inside the event file) which will automatically stretch to fill the entire display. When using background pictures make sure they are adjusted to the target monitor resolution. Custom CSS may be applied to each Screen individually, or globally in advanced settings, for advanced use cases.
Each screen then contains individual windows which control which data is displayed, the position, and scrolling behaviour. Some further details like a filter, font size, or page time/refresh rate can be set in the extended settings.
When adding another screen, you can copy all settings from a different screen within the currently opened Presenter. This will include background color, background image, and the chosen Layout Mode.
Advanced Settings
The Display Dimensions (pixel height and width) and Custom CSS under Advanced Settings will be applied to all screens. If dimensions are set, the area where windows are positioned will be limited to these dimensions, ensuring the layout looks exactly as intended on the target hardware.
